Quick overview:
- It’s an easy, beginner-level hike.
- Anilao, Batangas is a 3 to 4 hour trip from Manila.
- Mt. Pinagbanderahan/Gulugod-Baboy takes 2-3 hours to ascend and less than 2 hours to descend.
- The trail starts with an asphalt road, then a muddy forest ascent, and the topmost section to the summit is open grassland with little to no shade.
- You can go swimming at the rocky beaches below, or rent a boat to Sumbrero island or the other nearby beaches.
- Mobile data is available in the area, but not in the islands further away.
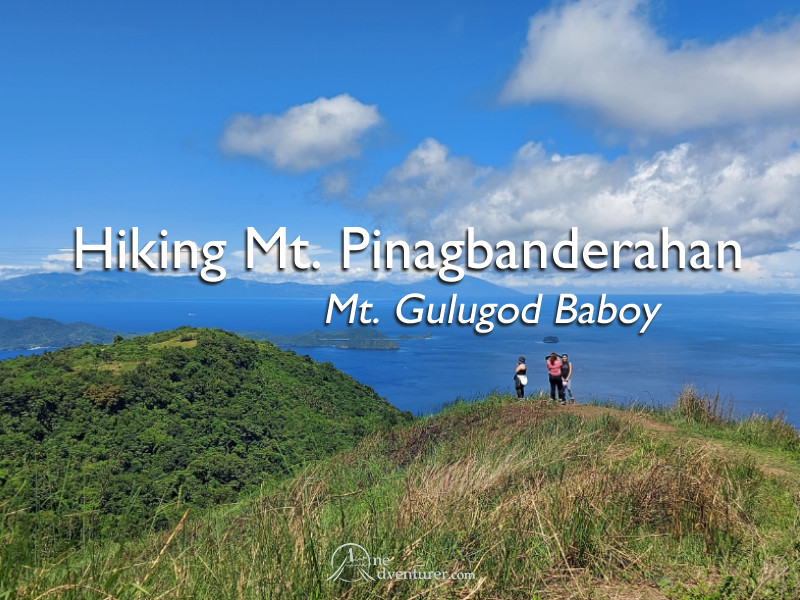
Mt. Pinagbanderahan, also sometimes called Mt. Gulugod-Baboy*, is one of my favourite hiking destinations and it is also my number one recommendation for first time hikers. It has a relatively short yet mildly challenging ascent and the summit has an excellent 360-degree view of Batangas and Balayan bay.
One of the best things about going there is that you can make your visit to Anilao a two-in-one trip. Right after your hike, you can cool down and swim at the rocky beaches near the foot of the mountain or rent a boat to visit Sumbrero island, Marikaban island, or any of the other beautiful beaches of Anilao. The region is famous for scuba diving too, and there are lots of resorts and scuba diving schools in the area if you’re interested.
*Note: Mt. Gulugod-Baboy (“Pig’s spine”) is actually a different, smaller mountain right beside Pinagbanderahan.

Preparing for your hike:
Read: What to Bring for Your First Hike here!
Important things:
- Essentials: Cellphone, extra money, powerbank, etc.
- Water. Bring at least 1 liter.
- Backpack for your water, snacks, electronics, extra clothes, First Aid Kit (VERY important!) etc.
- Wear good hiking clothes or comfortable sports clothes for the hike.
- Prepare for rain. Bring some sealable sandwich bags or lockable watertight food boxes for your cellphone and other electronics in case of rain.
- Shoes or sandals with good traction as the trail can get muddy.
- Swimwear and slippers if you want to go swimming.
- Sunscreen.
Other things to bring:
- Extra clothes and a towel. There are shower stations in the area if you want to change into fresh clothes before going home.
- Insect repellent.
- Umbrella. Not really for the hike, but it rains a lot in the Philippines.
Optional equipment:
- Arm sleeves to protect your arms from sunburn and the talahib grass.
- A hat to minimize sun exposure during the hike.
- Aqua shoes for the rocky beaches.
- Trekking poles.
If you hired a van or you’re staying at a resort, you can probably leave your extra clothes and other unnecessary items there. Just bring your phone and wallet, water, food, sunscreen, insect repellent, first aid kit, and other essentials for the hike. Remember to bring plastic bags and waterproof containers just in case it rains!
Planning your budget:
- Toll Fees: P214 + P25 + P104 = P686 total for both ways.
- Registration for Hike: P150 per person.
- Guide: P800 approx
- Hut/shack rental: P600 to P800.
- Gas: P1750 (two way from Manila to Anilao based on 2022 gas prices)
- Island registration: P200 per person.
- Miscellaneous expenses: P50 to shower, P5 to P10 to use the toilets, etc.
- Boat ride: P4,000 for 8, plus P200 per extra.
- Depending on the beach, you may need to pay an extra P500.
- Toilet fees: P5 to P10 each use
- Shower fees: P50 to P100
Sample Total for 4 people:
P6,832 for a hike and beach trip with your own car.
P11,632 if you also want to go island hopping.
Note: Some companies offer van rentals and, based on my experience and the people I know, they would usually cost around P3,000 to P3,500 or more. Unfortunately, I do not yet know how much taking public transportation there would cost.
How to get there: Location and Registration


Mt. Gulugod-Baboy Tourist Assistance Center
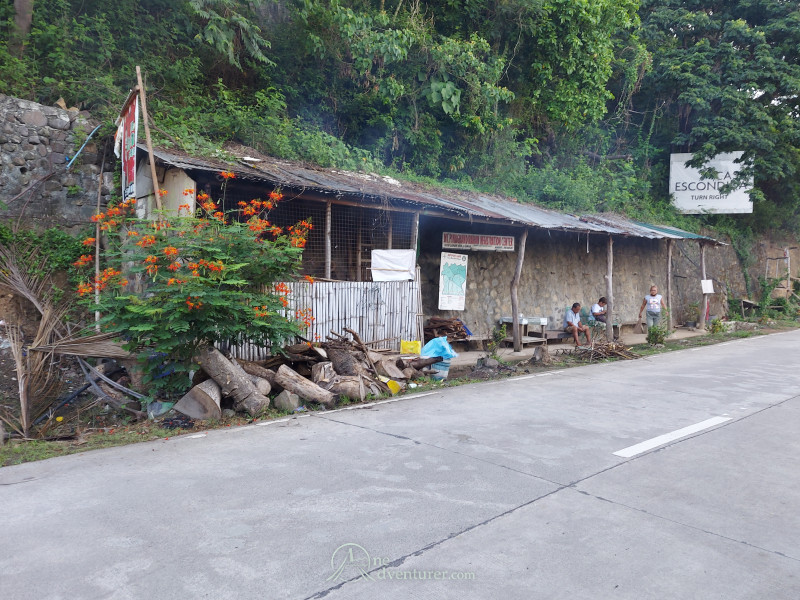
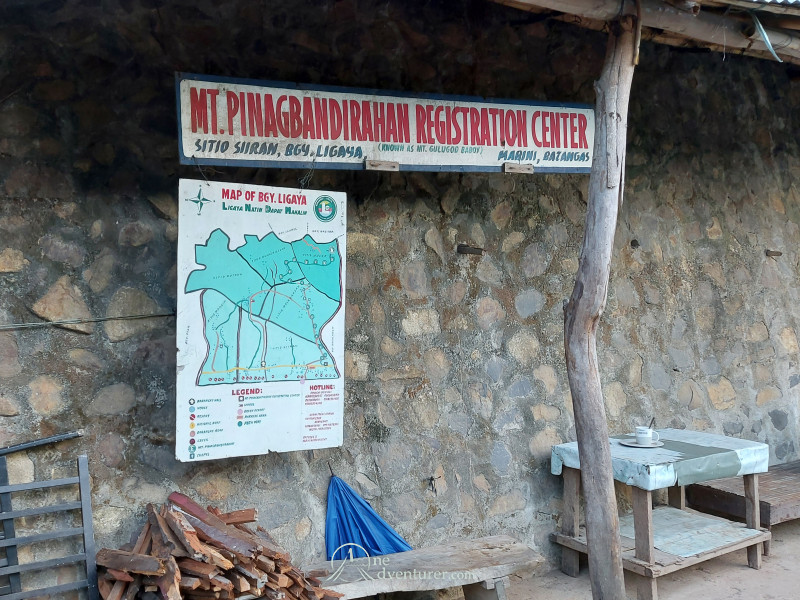
You can check out the location of the mountain’s tourist assistance center above (or on this link), so use that to plan your route using Google maps or through a navigator app like Waze. Once you get there, just look for a representative nearby to pay for your registration and parking fees as well as hire a mountain guide. You can also coordinate with locals and they can set you up with local sailors if you want to go island hopping to Sumbrero island or other beaches like Portales. They should tell you the rates for the boat ride, island registration fees, and hut rental fees.
Note: It’s important to hire a local guide, especially if it’s your first time. Follow your guide, stay as a group, and rest often. Drink water too while resting.
Commuting from Manila:
- Commute to Buendia LRT Station. Look for JAM Liner’s Bus Station.
- Ride the bus to Batangas City Grand Terminal.
- From there, ride a jeep to Anilao Port.
- Take a tricycle to Mt. Gulugod-Baboy/Pinagbanderahan Tourist Assistance Center.
What is the hike and trail like?
- The first section starts a few meters north of the tourist assistance center and it’s a long uphill road heading Southeast and into the mountain.
- At a certain point, the asphalt will end and you’ll start the continuous assault through the forest as you head towards the summit.
- Note: There are two places where you start the assault, one near an old hut and the other at the very end of the asphalt road.
- Going through the forest, there will be two stopovers along some locals’ homes. They sell drinks and refreshments in case you get thirsty. In any case, you might want to start putting on sunscreen by the second rest stop as the summit is open grassland with little to no shade.
- Heading on further up, you’ll find more and more tall talahib grasses growing on both sides of the trail. Beware of those as they have tiny hairs that can irritate or even cut your skin if you brush against the edges of their leaves.
- In less than an hour, you’ll reach the summit so congratulations! Enjoy the wonderful 360-degree view of Batangas!
- To descend, you will usually take the same route down. If you’re too tired or you want to head down quickly, there’s a small building on the other side of the mountain where tricycles wait for exhausted hikers who want to take a shortcut. They cost around P600 and can seat three people (so P200 each person).
- Remember that prices can change, so prepare extra money just in case!


Side story: How did I get into hiking?
Aside from the places my dad took me when I was a kid, Mt. Pinagbanderahan was actually my first “real” hike. My brother once joined a college hiking group back in 2013, and they organised an overnight camping trip for their members. Since I loved to travel, I decided to tag along. It was a “beginner” camping trip, so how hard could it be, right?
Well…
Since it was my very first hike, I actually had no idea how to prepare properly. It was so bad, I actually brought all my stuff for that hike… in a DUFFEL BAG. I also brought a GALLON jug of water that can’t fit in the bag so I had to hand-carry it all the way up. In case you don’t know, that’s pretty bad. You’re always supposed to use a backpack and you’re not supposed to carry anything heavy on your hands. Bags that go on your side and hand-carrying heavy objects can mess with your balance, and that can get really dangerous if the trail gets slippery or if you’re hiking along a narrow cliff’s edge.
Thankfully, the trail was easy enough so there were no problems during the ascent. While there was a lot of cow manure at the campsite, pitching tents, cooking and sharing food, and hanging out with all the other campers at the campsite near the summit was an awesome experience.
Unfortunately, it started raining and things took a turn for the worse when a signal number 2 storm (Gorio) formed that evening and bombarded us all night.
You know how loud and scary tropical storm winds can get outside your house? Well imagine that, but you’re on top of a mountain facing the storm full force and your only protection is a thin piece of fabric. We were trying to sleep that night, but the winds were so strong, the roof of the tent kept slapping our faces as the wind kept blowing it flat. Water also seeped through the walls of our cheap department store-bought beach tent, and the inside turned into a swimming pool as water flooded the inside. The wind was so strong and there was no way we could sleep in those conditions, so I just sat at the windward corner with my arms outstretched to support the tent from the inside. If I didn’t, the plastic poles would have snapped and flattened our tent which is what happened to the other members of our group. Better to stay up all night doing that than get waterboarded inside.
The storm was gone by morning and the grass all around the campsite was a beautiful bright green as the storm seems to have washed away all the dirt and manure. There were a few broken and abandoned tents scattered around the campsite. Their owners took refuge at the experienced hikers’ heavy-duty tents, the expensive ones made of high-quality materials and made for actual camping.
In any case, the hike down was way more difficult as the whole trail had become extremely muddy and slippery. Some of us needed to hold on to the skin-cutting talahib grass while we slid down the muddy slopes, and while I had to carry my brother’s heavier backpack, all he could do was roll my duffel bag downhill. My feet also kept slipping through my sandals and the straps cut into my skin. I had to wash the mud off my wounds at the beach below.
As harrowing as it all sounds, I actually really LOVED that experience. It remains in my memories as one of my most fun adventures.
Anyway, how about you? What was YOUR first hike like? Tell us in the comments section below!

Leave a Reply